Modifying the Hosts file for Outlook on Windows PCs - For UMail Migration
NOTE: This procedure requires a Command Prompt with elevated permissions. If you don't have a Local Administor account or Local Administrator permissions on your computer, please contact the CATG Support Core / HCI Help Desk for assistance.
If you have a Local Admin account or are setting up Outlook on a personally owned laptop, here are the steps:
1. select Start, then type in CMD and once Windows search finds it, right-click and select Run as administrator
2. If you have a personally owned laptop, it will ask to confirm permission. If you have a HCI-issued laptop and have a Local Administrator account, for the username enter .\(your LA account) and the password you set when your laptop was issued to you.
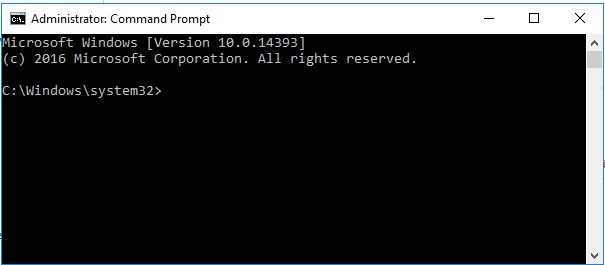
3. Once you are in the Admin Command prompt, you should see a window that looks like this:
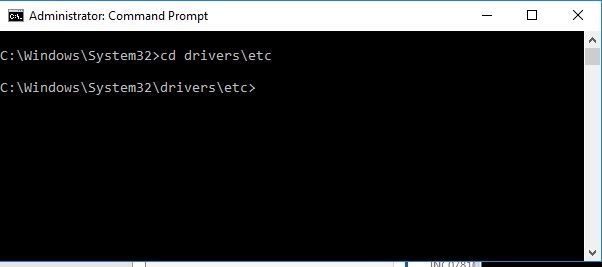
4. Next enter cd drivers\etc and then press Enter. This should result in a command prompt window that looks like this:
5. Then enter notepad hosts and press Enter7
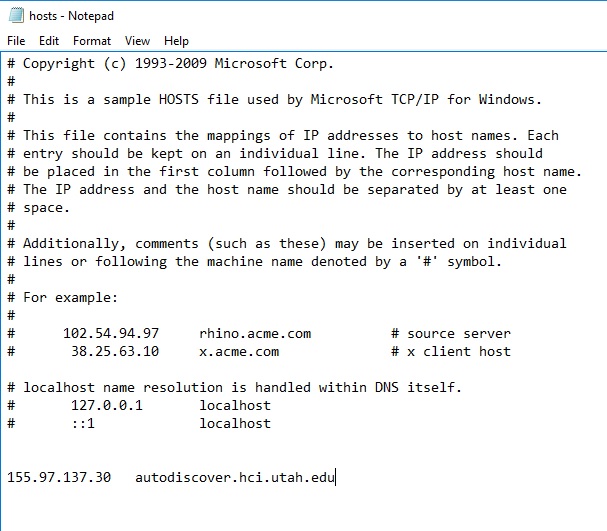
6. You will then see a window that looks like below:
![]()
7. Scroll to the bottom of the file with your arrow keys, press the Enter key a couple of times (to create a new line and keep the hosts file "readable) and then enter the following line:
155.97.137.30 autodiscover.hci.utah.edu
8. Select the File menu, then Save. The hosts file should look like below:
With this file saved, your PC is ready to create a UMail email profile.